Quilt

I finally started on the king-size quilt I’ve been planning since last August. After entering the quilt I made for my youngest son in the county fair, I decided my goal this year was to make a quilt that would deserve to be hung up and displayed in its entirety, instead of being folded up and hung over a railing in a nook, lost among the bulk of entries. So my husband came up with a design based on a mathematical curve, I started with one fabric I love that I’d picked up at the thrift store, and over the Christmas break I bought all the rest of the materials. (The quilt shop was having a pre-end-of-year-inventory sale, what could I do?) There was much discussion of colors and patterns while my in-laws were visiting for Christmas.

And finally, last night, I started cutting. I cut out 289 squares. (Rotary cutters rock!)

IMG_1933

Now I have hundreds of little triangles to do. Pondering whether to cut them all at once or cut some and start sewing, cutting the rest as I go. Just to make sure the design is going to work, of course.

Comments (2)

sewing

Room Changes

I realised last week that we were wasting the sunniest room in the house. What was formerly the guestroom and my sewing room faces south with sliding glass doors. It is a lovely bright room. And it was being used only a few weeks a year by guests who mostly just sleep there, and the rest of the time by me in the evenings when the kids are asleep. And on all of these sunny spring days we’ve been having, it was gated off and inaccessible while the playroom sat there and looked like a dark brown cave. No wonder the kids didn’t want to play in it.

Duh.

We moved the guest bed into the “cave” along with some stuff I want to store out of kids’ reach. We moved the toys into the sunny room and kept my sewing machine in there. We’ve spent at least some part of every day in there since then, boys playing together, or Ben helping me make something. All my supplies are easy to get to, and Ben is fascinated by the sewing machine and loves to help me use it.

I really like this new arrangement, and I think the boys do too.

IMG_1900 IMG_1896

Comments (0)

home

My first Meme

OK, so I got tagged a while ago by my friend Lisa. I’ve never been tagged before, never done a meme before, but here we go. I’ll answer the questions, but I don’t know about the last part, though, tagging 5 people… I’m usually a completely anonymous lurker on most blogs I read. And sorry, it’s going to be sort of brief…. I want to get to my quilt tonight too. Then I’ll have pictures to share. 🙂

The rules of this tag:

A. The rules are posted at the beginning

B. Answer the questions about yourself

C. Tag 5 people, let them know in a comment on their blogs that they have been tagged.

What were you doing 10 yrs ago?

Um, 1998. Learning about computers. I’d been living in a VW bus with my then-husband, working retail and being hippies. We moved into an apartment and I started doing office temp work because I was SICK of retail, and found I had an aptitude for computer stuff. I took a class in Multimedia and learned about HTML and the internet, and here we are.

Snacks I enjoy:

  • Apple and chunk o’ cheddar
  • Chips and salsa
  • Bread and butter
  • uhhhh. I guess I’m not a big snacker.
  • Five things on my to-do list today:

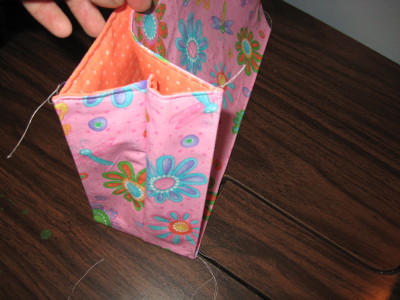
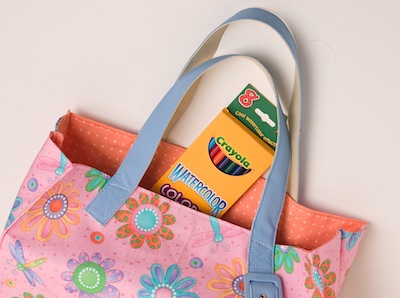
  • Finish this and post.
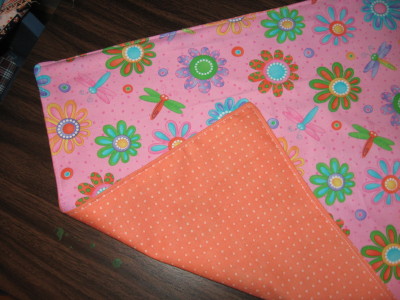
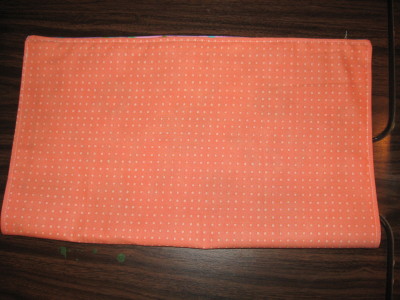
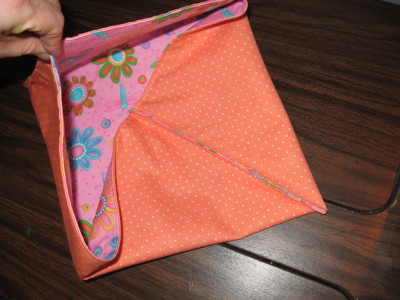
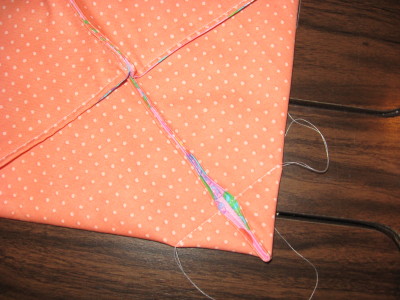
  • Work on my quilt if there’s time.
  • Pick up kids’ toys.
  • Take my antibiotics.
  • Go to bed.
  • Things I would do if I became a billionaire:

  • Buy a house in Northern Ireland near my parents.
  • Buy a house somewhere warm.
  • Invest a lot.
  • Give some to family and charities.
  • 3 bad habits:

  • Eating too much ice cream.
  • Being lazy about housework.
  • Sometimes drinking too much wine.
  • 5 places I have lived:

  • Bangor, Northern Ireland
  • Keele, England
  • Kent, WA
  • Seattle, WA
  • Whidbey Island, WA
  • Jobs I have had:

    Oh goodness. Many, but can be mostly summed up like this:

  • Retail in various places.
  • Data entry.
  • Office Manager.
  • Technical Writer.
  • Mum.
  • Things people don’t know about me:

    I’m a synesthete. Specifically, my days of the week have colors associated with them and always have. There are other aspects of my life that are probably synesthetic, but I’m still trying to figure it out. I only just discovered that other people do this and that there’s a name for it — I always thought it was just me being weird.

    I don’t think there’s much else people who know me don’t know — I’m a pretty open book, I don’t hide much.

    Comments (2)

    Uncategorized

    Easy Cheesy Rice and Spinach

    I made this up one day and it has quickly become one of our regular favorites. Tasty, nutritious, and QUICK to prepare. Ben even askes for seconds. Amounts are approximate for now, maybe I’ll try measuring stuff the next time. 🙂

      2 cups cooked brown rice

      1 10oz bag loosely packed frozen spinach (I use Woodstock Farms)

      6 eggs

      1 cup grated cheese — cheddar and/or mozzarella

      2 tbsps curry powder (or flavoring of your choice to taste)

      salt and pepper

      Optional: frozen vegetarian sausages, sliced

    Preheat the oven to 400ºF.
    Put the rice, spinach and a third of the cheese into a casserole dish and mix.
    Beat the eggs together with curry powder and salt and pepper.
    Pour eggs over mixture in casserole dish, stir to coat everything.
    Top with remaining cheese (and veggie sausages if desired).

    Cover and bake for 45 – 50 minutes, remove covering and cook for about 10 minutes more, or until eggs are set.

    Comments (1)

    Uncategorized

    Soup Sunday

    Sweet Potato Lentil Chipotle

      1 onion, chopped

      oil (I used canola)

      3 medium sweet potatoes, chopped

      2 cups red lentils

      4 cups broth

      6-8 cups water

      ground cumin (2 tsp maybe?)

      chipotle

      Braggs

      liquid smoke

    Sauté onion in oil until soft and beginning to brown. Add ground cumin and some chipotle.

    Add sweet potatoes, lentils, broth and water. Bring to a boil. Turn down and let simmer for half an hour, or until lentils are mushy and sweet potatoes are soft. Add small amount of liquid smoke (1/2 tsp maybe?) and Braggs to taste.

    Remove from heat and blend using immersion blender.

    Return to low heat and allow to sit for a little while if possible. It thickens up nicely. Add more water if it’s too thick. Taste, add salt, pepper, more chipotle to taste.

    You can sprinkle more chipotle once it’s served in the bowls, too — adds a nice swirl of rich red color.

    IMG_1371.JPG

    Comments (0)

    cooking

    Felt Veggies

    Here are some of the felt veggies I’ve been working on for the kids’ kitchen. Some are sewn from ordinary craft felt, and stuffed, and some are made using my newly learned (and highly addictive) needlefelting skill.

    Leekmushroomcauliflowerchardcarrotseggplant

    Click any of these images to view larger versions on Flickr.

    More coming soon. (Did I mention I’m obsessed?)

    Comments (2)

    felting

    Felting Fool

    I’ve become possessed. With a pointy needle.

    The beneficiaries of this possession are my kids, specifically their kitchen. I have been making felted fruit and veggies.

    Photos coming soon.

    Comments (0)

    felting

    A new craft

    Just what I needed, huh.

    Today I took a two hour needlefelting class. Needlefelting involves unspun wool fibers (roving) and a barbed needle. You poke and poke and poke the roving with the needle until it starts to firm up and take the shape you want. It’s fun. And addictive.

    Our local craft store offers a lot of classes, and Eric and I have recently agreed that I should take one class each month, just to have some time away from the kids doing something I enjoy. I had been curious about needlefelting since I first read about it sometime last year, and this seemed like a great opportunity.

    I came home with a really cute needlefelted snowman. And sore fingers.

    snowman

    Comments (2)

    crafts

    Kids’ Fat Quarter Tote Bags

    I came up with this little kids’ tote bag idea recently, because Ben asked me to make him one out of two fat quarters our local quilting store owner gave him one day.

    totebagBen

    It has dalmatians and fire hydrants all over it — what could be better for a three year old boy? He loves it, and so does one of our friends, so I made another one for her and documented the process in photos so I could write about it.

    Materials needed:

    • Two fat quarters of coordinating fabrics — a bold print for the outside and a plainer/smaller pattern for the inside works well. (Doesn’t work well on obvious one-way patterns — one half would end up upside-down.)
    • Slightly less than a fat quarter of iron-on interfacing.
    • An old belt — I find mine at the thrift store — or some other ribbon or webbing for straps.
    1. Center the interfacing and iron onto the wrong side of the outer fabric.
      totebag1
    2. With right sides together, sew around the edges of the fabric. Leave about the center third of one of the long sides unsewn to allow you to turn right side out. Trim the corners.
      totebag2
    3. Turn right side out, pushing out corners. Iron seams flat. Topstitch at 1/8″ around the entire outside of the rectangle.
      totebag3
    4. With right sides (outside fabric) together, fold in half widthwise. Sew the two ends together.
      totebag4
    5. You now have basically a flat inside-out pouch. Fold in the outside edges that you just sewed, towards the center, so that the seam is laying along the center bottom of the pouch.
      totebag5
    6. Sew across the corner of the bag, about 2″ in from the point, on both ends.
      totebag6
    7. Turn the whole thing right side out. Lay one of the long sides flat against the bottom (like you would fold a paper grocery sack) and topstitch at 1/8″, from corner to corner, along the outside. Do the same thing on the other side, and, if you want, from each of the four bottom corners to the top edge, to give it more of a boxy shape.
      totebag7
    8. Cut the old belt in half, and sew one half on each side as a handle. I do it just a couple of inches in from the ends and at a slight angle. I also leave the belt buckle on for decoration.
      totebag9

    That’s it! Give it to your favorite kid and they can carry around their books or art supplies or cuddly toys or whatever they like. 🙂

    Comments (7)

    sewing,tutorial

    Elf Clogs

    Christmas crafting galore going on here… more photos and details later, but here are a little pair of elf clogs hanging on the tree…

    elf clogs

    Comments (0)

    Uncategorized